|
E3M7: The Haunted Halls
text by Exile and Jjonez
graphics by Jjonez

Introduction
E3M7 is a pretty small map with tight tunnels and many powerups.
The respawns are easy to camp on this map, so a good clan with control can get many frags in a short time.
Items available
Weapons:
- 2 rocket launcher

- 1 grenade launcher

- 1 super nailgun

- 1 nailgun
Armor:
- 1 red armor

- 2 yellow armor

- 1 green armor

Powerups:
- 2 Quads

- 1 Pentagram of protection

- 1 Ring of invisibility

- 2 Megahealths

Important areas
This map is basically laid out as a string of rooms and areas connected by a few narrow corridors. There are two areas which are far more important then the rest of the map. One of them forms one end of the 'string' and contains Rocket launcher, the Ring, the Pentagram, a Quad, a Megahealth and a Yellow armor.
The second important area, somwhere in the middle of the map, holds another Rocket launcher, a Quad, a Megahealth and a Yellow armor.
The other extreme of the playing field contains the Grenade launcher, Super Nailgun and Green armor but doesn't usually see much action during a game. The best use of this area is as a hide-out when things get rough in the rest of the map. The descriptions below start from here.
Green armor and Super nailgun area
|
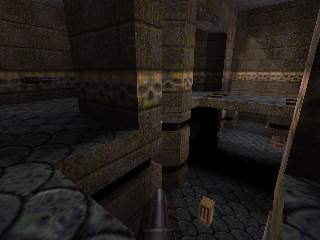
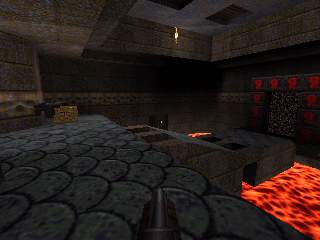
This area is at one end of the map. Besides the Green armor and the Super nailgun there really isn't much of interest here.
The only way out is through a teleporter (with a Nailgun in front) that takes you to a higher level. Should you ever want to come back here, just drop down again near the teleporter.
|
|
Grenade launcher area
|
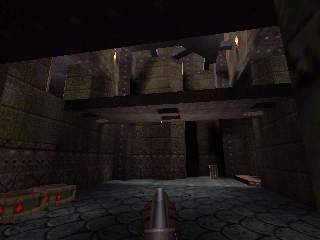
From the teleport exit of the Green armor area, a small elevator goes up one more level to a tiny room with a Grenade launcher.
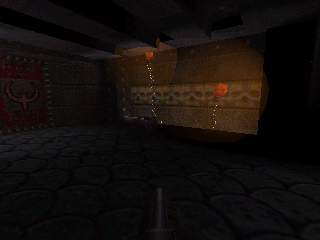
A passage leads further to the Tower rocket launcher area. The only other way out of here is back down to the Green armor area. As with the Green armor area, unless you are hiding from your enemies you shouldn't be here.
|
|
Tower rocketlauncher room
|
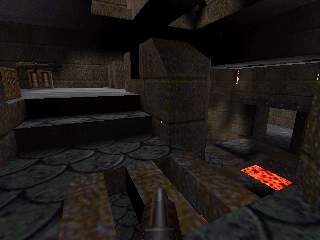
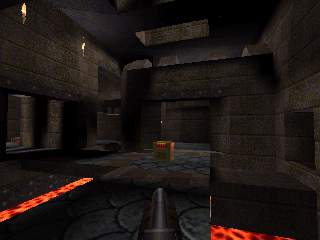
This is one of the two key areas. The Rocket launcher is on the small 'tower' or 'castle' and can be reached by a small elevator of the side. Under this elevator, a Megahealth is hidden. Below and in front of the Rocket launcher sits a Quad in a tiny alcove. In case you accidentally end up in the lava, a few stairs can help you out again if you're quick.
This is a great place to camp since there are many spawns here.
From this place a passage leads to the Grenade launcher area. The other direction leads across the cage room to the Red armor and the other vital place with Rocket launcher.
|
|
Cage room
|
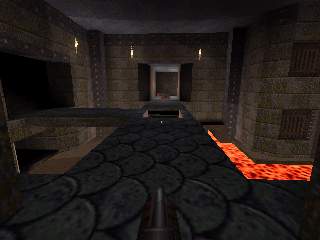
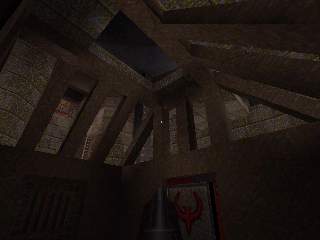
This room serves as the connection from the tower area to the Red armor. The only interesting feature is a cage in the lava. To get out of this trap, you have to shoot a switch to activate a teleport.
|
|
Red armor stairs and nail corridor
|
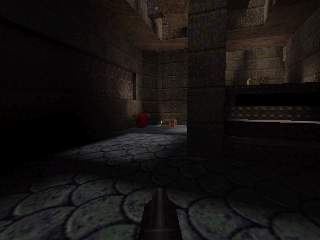
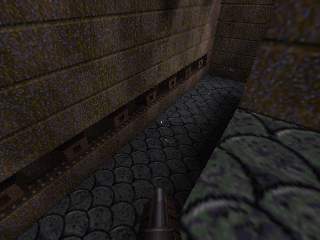
The only Red armor of the map can be found next to a short staircase. These stairs connect the cage room to a corridor with automatic spike traps in the wall. The spikes make a lot of noise and thus anounce your arrival in the final part of the map well in advance.
|
|
Bridge Rocket launcher room
|
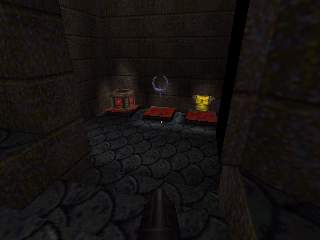
This room is split in two by a gap filled with lava. Lifts go up to a bridge that connects the two sides. The Rocket launcher sits in the middle of this bridge. In a small cubbyhole down a side, you find a Yellow armor, Megahealth
and a Quad.
Across the lava is the entrance to an elongated room with the Ring.
From the Rocket launcher, you can also jump to a hidden door in the wall. Behind this resides the Pentagram.
As this area forms the end of the map, there is only one entrance to it: the passage with spikes to the Red armor.
|
|
Popular shortcuts
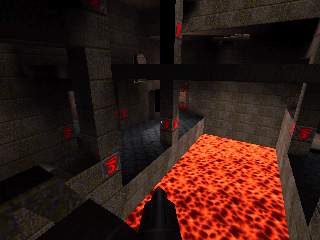
This is a fairly easy map in terms of shortcuts. There is no hard individual trick or good shortcut to be learned here. One easy shortcut you can use is to rocketjump up to the Pentagram instead of going past the Rocket launcher on the bridge.
Another very basic shortcut is to jump across the lava below the bridge.
A funny thing to try in teamplay involes the cage (which is opened by shooting at a button on the wall) in the middle of the map. Put a teammate in the cage and let another teammate look at the tower Rocket launcher direction. When the teammate sees an enemy coming through the teleport destination, shoot on the button in the cage to telefrag him.
Basic strategies
Like all maps, it's the eternal struggle to get the guns, armors and powerups under control. You fight until you get either of the Rocket launcher areas under control and from there use a Quad to try and take over the other area. Instead of a Quad, the Pentagram can also be used to clear the tower area.
Once everything is under control, the positions would be one player at the bridge Rocket launcer area, one at Red armor, one at the tower Rocket launcher area and one chasing the probably hiding enemies in the Grenade launcher to exit area.
Tours
To the Green armor, Super Nailgun and Grenade launcher
From the Grenade launcher to the Quad and up to the Rocket launcher
Past the Red armor to the bridge area with Pentagram and Ring
|