|
DM6: The Dark Zone
text by Apollyon
graphics by Jjonez
Introduction
The Dark Zone has always been a classic 1on1 and 2on2 map. Its popularity as a map for teamplay differs alot depending on your location on the globe. While it is a true test of raw skills (aim, movement and predictions) for some, it is a messy chaos for others. Usually a match here is very action packed and exciting for the players, while watching a match here can be quite boring because of the frag, frag, kill, frag, kill, frag, frag style. DM6
is a very good map to play for less experienced players because its easy to understand
and play in comparison to the other classic teamplay maps.
Items available
Weapons:
- 2 rocket launchers

- 1 lightning gun

- 1 grenade launcher

- 1 super nailgun

- 1 super shotgun
- 1 nailgun
Armor:
- 1 red armor

- 1 green armor

Powerups:
- 1 Ring of invisibility

- 1 Megahealth

Important areas
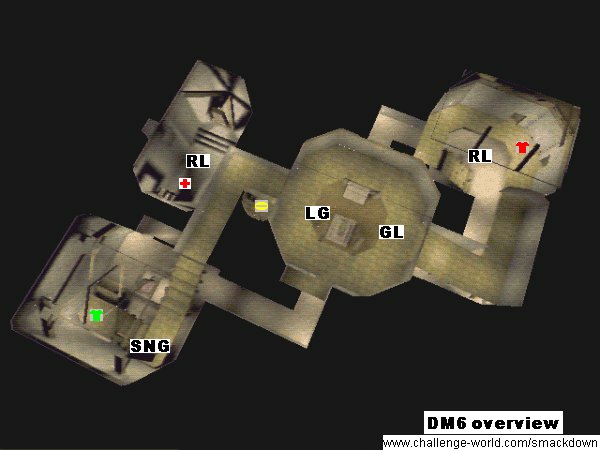
All games on DM6 evolve around controlling the Red armor area. Once that area is cleared, control is extended to the other parts of the map. Together with the RA you control one of the two rocket launchers. The second on is on the other side of the map in a small room together with the megahealth powerup. In the central area all other areas connected on two different levels. The grenade launcher sits on the upper ledge
and a shootable platform reveals the entrance to the lightning gun room with the Ring.
Red armor area
|
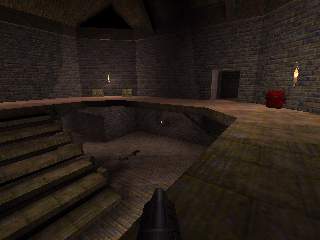
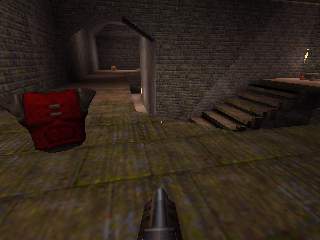
The red armor is located on the upper ledge of this area. Some stairs opposing the armor lead onto that ledge. Right in front of the armor, the rocket launcher can be picked up at the ground level. Under the stairs there is also the super shotgun.
Three ways lead out of this area. A small hallway across the red armor leads into the center area, just like a longer and wider one. The upper ledge leads to the grenade launcher area but a gap along the side allows to drop down to the ground level. Right behind the red armor, a respawn point is hidden in a tiny passage with two exits.
|
|
Grenade launcher area
|
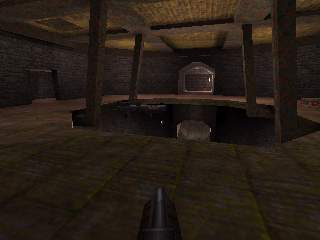
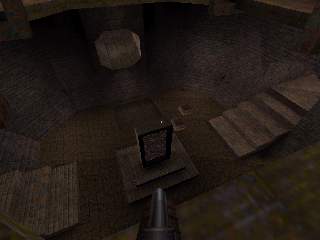
From the ledge of the red armor, a slope leads up to the greande launcher. A wide circular ledge hovers high over the central part of the map.
Across the opening, a hallway leads to the stairs with the green armor. On one side of
the ledge there is a respawn point in the walls, on the other side there are
some healthpacks. Looking down here gives a good view on most of the entrances
the central area holds: the three ways to the red armor, the upper and lower hallway to the stairs, the entrance to the lightning gun and the tube to the megahealth room. The central teleporter can easily be jumped into from here.
|
|
Stairs and Green armor area
|
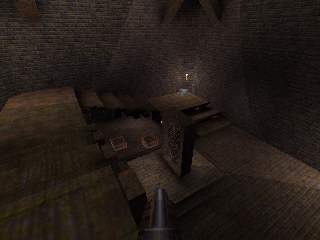
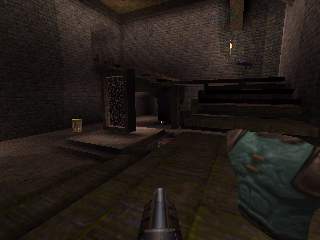
Two long flights of stairs along two walls of the room lead downwards. Both a super nailgun and the green armor are located on the stairs. In the middle
of the room there is a teleporter leading into the megahealth room. Next to the teleport, the only pack of rocket ammo box on this map is positioned. In a corner, another respawn point is hidden.
Besides the upper hallway to the grenade launcher, there is another one leading back to the center below the stairhead. The teleport serves as the exit for all other teleporters on the map.
|
|
Megahealth room
|
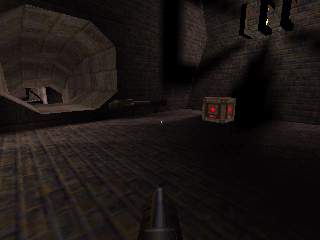
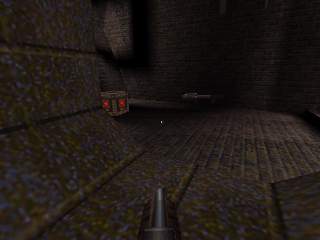
This is small room that contains the second Rocket launcher as well as the Megahealth powerup. They are both right in front of the teleporter which goes back to the Green armor stairs.
A 'tube' leads from this room to the central area.
|
|
Central area
|
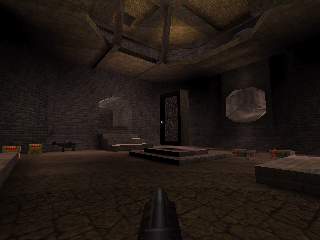
This center area interconnects all the other rooms.
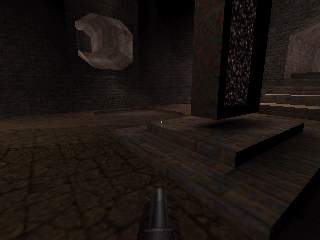
In the middle of this rather large space, another teleporter leads to the teleporter in the Green armor room. In front of the tele lies the flimsy nailgun. Behind the teleporter is the secret entrance to the Lightning gun corridor.
|
|
Lightning gun corridor
|
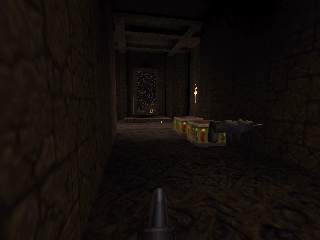
This secret corridor can be accessed by shooting a floorplate in the central area. Besides the Lightning gun and some ammo, the Ring also appears here. The teleporter leads back to the central area.
|
|
Popular shortcuts
The most common shortcuts are of course all sorts of rocketjumps up to the Red armor. Taking the stairs instead is
slow and deadly. Skilled rocketjumpers can perform
flat but long jumps form the long entrance directly onto the armor, often surprising the Red armor guards.
Multiple use of teleporters is also often used as shortcut. This "double'
teleporting' sometimes results in telefragged teammates though.
Bunnyhopping and especially adding speed to them through rocketjumps
has also become common. For example it is possible to master the gap
in the Grenade launcher area with just one jump this way.
One of the less common shortcuts involves a bug with the Ligthning gun platform.
When someone hits it with the Lightning gun, it will go up in the air for a glimps
of a second. With the right timing you can rocketjump to the upper ledge near the Grenade launcher. A direct rocketjump from the center floor is very difficult and not usually attempted in matches.
Basic strategies
Both in teamplay and duel the basic strategy is to control and take the Red armor. Usually one or two guys camp there. Camping the other rocketlauncher
is also a key to win this map. The fourth member of a team ideally covers
some of the entrances (and respawn points) in the center from the Grenade launcher area.
Every five minutes the ring respawns and it is often used to attack and
overtake Red armor.
Due to the nature and the size of the map it is not possible to really lock it
down except when the skill gap between the teams is very large. Therefore, games
here are usually quite exciting with control and lead changing constantly.
Tours
From the Red armor to the Green armor along the top level
From the Green armor back to the Red armor and into the tunnel
Through the teleports and into the Lightning gun hallway
|